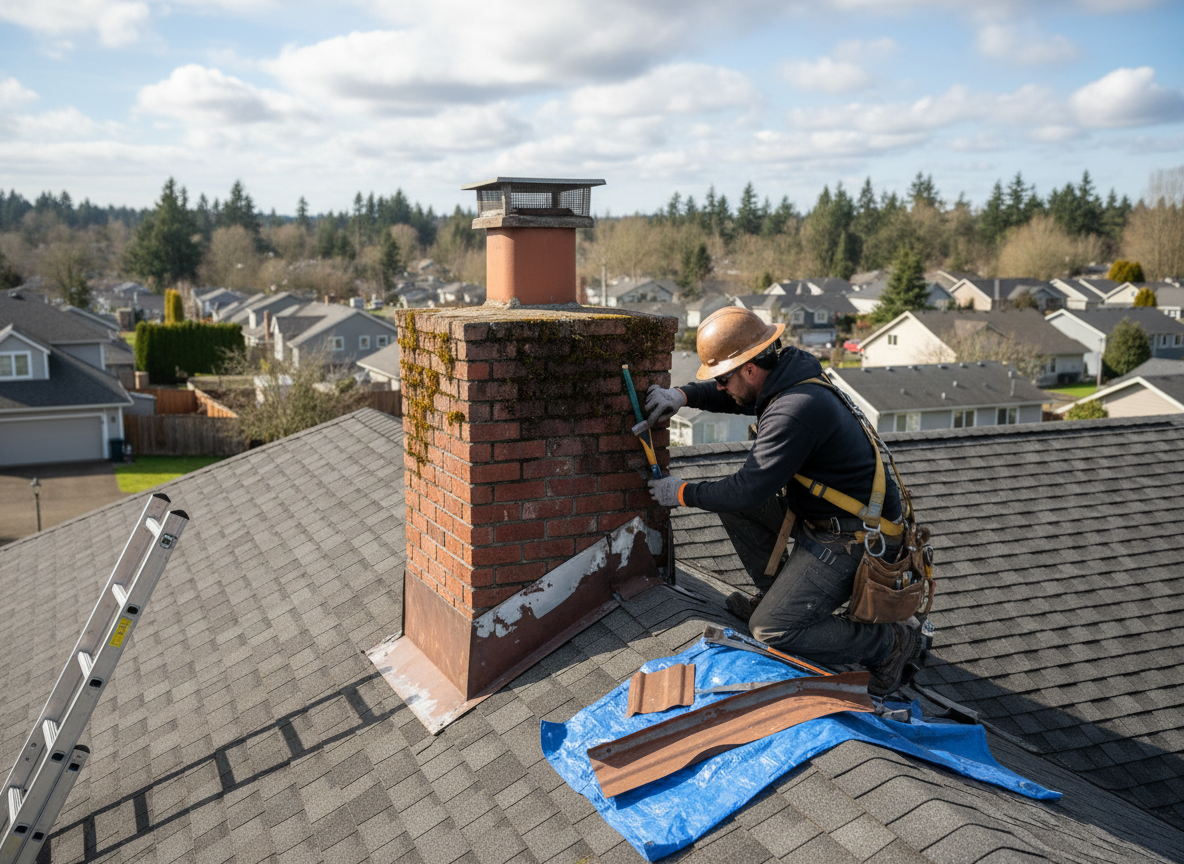
Gresham homes in Rockwood and near Mt. Hood Community College often feature brick chimneys on 1960s-1980s roofs where original step flashing has corroded from decades of wet winters. Water pools at the cricket or backpan when mild summers give way to prolonged rain, and occasional flooding in low-lying Multnomah County lots can push moisture upward through compromised counterflashing. We replace copper or stainless step flashing, integrate new lead boots, and re-seal with high-temp butyl tape rated for Pacific Northwest freeze-thaw cycles. Edge cases include chimneys on split-levels where the flashing runs under cedar siding that has already cupped from moisture.
Portland-adjacent codes in Gresham require flashing to extend at least 6 inches up the chimney and 4 inches onto the roof deck; we meet or exceed this while preserving the original brickwork that older Downtown properties value. Homeowners sometimes attempt sealant-only fixes, but these fail within two seasons when wind-driven rain forces water behind the patch. We remove deteriorated mortar joints, install new flashing with proper overlaps, and tie into existing underlayment so water sheds correctly even during the heaviest winter storms.
Terrain around Gresham Pioneer Cemetery slopes create runoff that concentrates at chimney bases on east-facing roofs. This accelerates rust on galvanized flashing common in Rockwood tract homes. We inspect for hidden rot in the roof deck and sheathing before any flashing work, because replacing flashing without addressing wet plywood leads to callbacks within months. All work is performed from the roof with proper fall protection, never relying on ladder-only access that misses backpan details.
Mild summers allow us to schedule repairs before the next wet season, but sudden October rains can interrupt jobs. We stage materials on-site at 1005 N Main Ave so crews can resume quickly once weather clears. Every flashing repair includes a water test from above to confirm no penetration before we leave the property.
Technician insight
In Gresham, the thing that catches most people out with chimney flashing repair is how wet winters and occasional flooding push water up under the backpan on Rockwood homes built on slight slopes. Homeowners slap sealant on the visible joint and think the leak is fixed, but the rot is already in the decking by the time we open it up.
Rockwood Chimney Leak After Heavy Rain
Water stains appeared on a ceiling in a 1970s Rockwood home after three days of steady rain. We found corroded galvanized flashing at the rear of the chimney with water tracking under the cricket. We replaced the step flashing and backpan with copper, repaired rotted sheathing, and integrated new underlayment. No further leaks occurred through the following winter.
How it works
- 1
Site Assessment
Inspect chimney, roof pitch, existing flashing, and surrounding decking for rot or prior repairs.
- 2
Material Removal
Carefully detach old flashing, clean mortar joints, and assess cricket or backpan condition.
- 3
New Flashing Installation
Fabricate and install step flashing, counterflashing, and lead collar with proper overlaps and sealant.
- 4
Integration and Testing
Tie flashing into underlayment, restore roofing, and perform water test to verify seal.
Pricing
Cost depends on roof access, chimney height, and extent of deck damage discovered during inspection.